Given that EngSci is a direct-entry program with a heavier course load than other engineering programs at U of T, many incoming students question whether it will be the right fit for them. If you’re feeling the same way, know that you’re not alone. Some students have found that EngSci is exactly where they belong, while others have discovered that their passion lies elsewhere. Both choices are completely valid!
Common Reasons for Transferring Out of EngSci
You may have heard about EngSci having a high ‘drop out’ rate. So first, let’s clarify terms: When people talk about “dropping out” they usually mean leaving a program (or even the university) because they failed academic courses in the program. This is very different from transferring from one program to another. In fact, the vast majority of students who leave EngSci are transferring to another program by choice, not because they did not meet the academic standards. Some of their reasons include:
Some students decide they want to focus on a specific field of engineering directly rather than waiting two years before specializing. This is the most common reason for transferring out of EngSci. After some exposure to different engineering topics in first-year courses, students transfer into a different U of T Engineering program because they discover that they are simply more interested in that program.
Note: You have to do this before the transfer deadlines. If you’re thinking about transferring at any point in your first year, book a meeting with your Academic Advisor (Stephen or Irma), they are here to help you navigate what that process would look like.
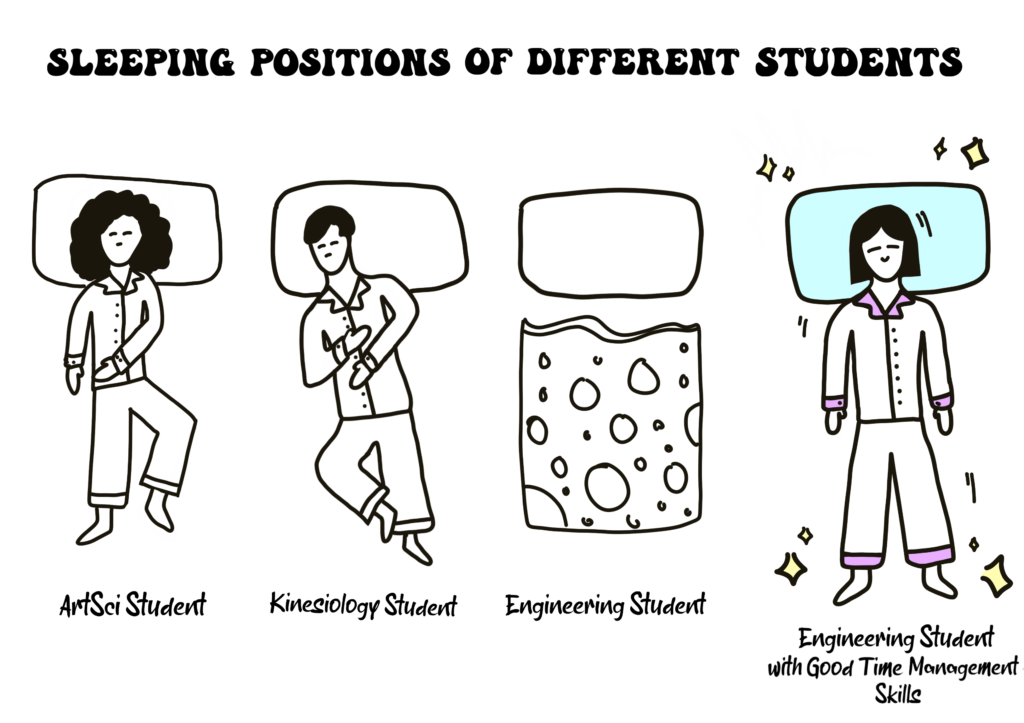
Others want to better balance academics and extracurriculars*. EngSci is an academically challenging program, so while you may be doing well marks-wise, you may still want some more time to join more clubs, hold a part-time job, or practice a skill/hobby.
*Note: This does not mean that you will not have time for extracurriculars in EngSci. In fact, many EngSci students are heavily involved in design teams, clubs, and the Skule community. You just have to manage your time better since you have six courses instead of five.
Some students may have misunderstood what engineering is, since it is a subject that is not usually taught in high school. This means quite a few students enter engineering programs without a very deep understanding of the discipline. Once they take some engineering courses, they may realize that they are more interested in pure math or science than they are in engineering. Since EngSci offers lots of exposure to these fields, a student may realize they want to study one of them directly.
Overall Success Rate
94% of first-year U of T Engineering students – including EngScis – continue into their second year within U of T Engineering and ultimately complete their engineering degrees at U of T.
It is quite common for first year students in engineering, or in any other university program to change their direction. As you explore new topics, you will discover what excites you and what leaves you cold. That’s why there is flexibility built into first-year curricula. If it seems like EngScis’s retention rate is lower than the Core 8’s, keep in mind that students can transfer between Core 8 programs during and after first year, while EngSci is a “direct entry only” program, meaning it is extremely difficult to transfer into EngSci from another program. This makes it seem like EngSci has more people leaving than other programs, which is not really accurate. There are simply fewer people transferring into EngSci compared to other engineering programs.
Remember – You were admitted to EngSci for a reason!
The Faculty of Applied Science & Engineering puts all applicants through a rigorous admissions process. The admissions team selects students who they think will be successful in the program and in their work after graduation. You are one of these students and everyone here wants to help you succeed in your academic journey! To explore the student supports available at U of T visit Engineering Science Advising and Support.
If you discover that EngSci isn’t the right fit for you, whether for academic or personal reasons, you will certainly be successful in another university program should you choose that path. Our academic advisors are here to help you, as they have done for many students before you.